Hashicorp Vault as certificate authority with Ansible
ansible homelab networking vaultIn this article we are going to build our own certificate authority using Hashicorp Vault PKI secret engine.
Prerequisites
- Ansible
- A host to install Vault
Here, we will install Vault in Docker. To do it in this way, Docker and the Python library for Docker must be installed as well.
Install Vault
In this example, we are going to use the filesystem
backend storage (here are other
storage backends). Create the config file
(files/config.json) to setup the storage backend:
{
  "ui": true,
  "storage": {
    "file": {
      "path": "/vault/file"
    }
  }
}
Install Vault in Docker:
- name: create data directory
  file:
    path: "{{ item }}"
    state: directory
    mode: 0777
  loop:
    - vault_data/config
    - vault_data/file
  become: yes

- name: copy config
  copy:
    src: files/config.json
    dest: vault_data/config/

- name: run vault
  docker_container:
    name: vault
    state: started
    image: vault
    restart_policy: unless-stopped
    capabilities:
      - IPC_LOCK
    ports:
      - "8200:8200"
    volumes:
      - "{{ ansible_user_dir }}/vault_data/config:/vault/config"
      - "{{ ansible_user_dir }}/vault_data/file:/vault/file"
Now we can set the environment variables VAULT_ADDR and
VAULT_TOKEN to our session. VAUL_ADDR will be
the host IP at port 8200 (say, http://192.168.1.23:8200). We can find
the Vault root token in the Docker logs for the container. This is not
recommended for production environments, but for this example, we can
set that token as our VAULT_TOKEN. More information about
Vault tokens here.
Create Vault policy
For this and the following sections, we are going to use the Ansible
collection
(mmas.hashi_vault)[https://github.com/mmas/hashi_vault-ansible-collection]
that I created. You can install the collection using Ansible Galaxy:
ansible-galaxy collection install git+https://github.com/mmas/hashi_vault-ansible-collection.gitDefine the required capabilities (files/policy.hcl):
# Enable secrets engine
path "sys/mounts/*" {
  capabilities = [ "create", "read", "update", "delete", "list" ]
}

# List enabled secrets engine
path "sys/mounts" {
  capabilities = [ "read", "list" ]
}

# Work with pki secrets engine
path "pki*" {
  capabilities = [ "create", "read", "update", "delete", "list", "sudo" ]
}
Create the policy certificate-authority:
- name: create policy
  mmas.hashi_vault.vault_policy:
    name: certificate-authority
    policy: files/policy.hcl
Generate root CA
We will generate the root CA using the PKI backend mounted at
/pki. To do this, let’s enable the backend at the default
moutn point and give a long default and maximum lease TTL, say 20
years:
- name: enable pki engine and config to issue certs with 20y ttl
mmas.hashi_vault.vault_secrets_engine:
backend_type: pki
config:
default_lease_ttl: 175200h
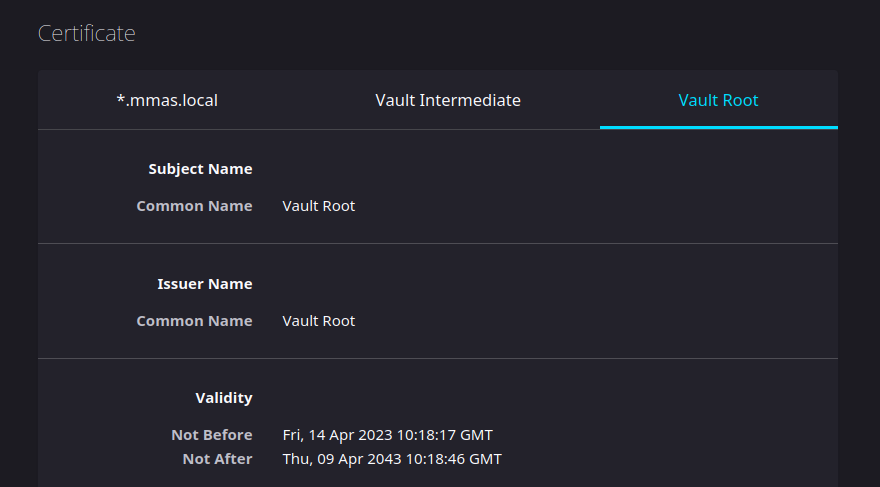
max_lease_ttl: 175200hGenerate the root self-signed CA with subject CN “Vault Root”:
- name: generate root certificate
  mmas.hashi_vault.vault_pki_root:
    common_name: Vault Root
Note that these modules are idempotent, so running
mmas.hashi_vault.vault_pki_root multiple times with the
same common name won’t generate new certificates unless the issuer is
revoked.
Configure the CA and CRL URLs:
- name: configure ca urls
mmas.hashi_vault.vault_pki_urls:
issuing_certificates: [ "{{ lookup('env', 'VAULT_ADDR') }}/v1/pki/ca" ]
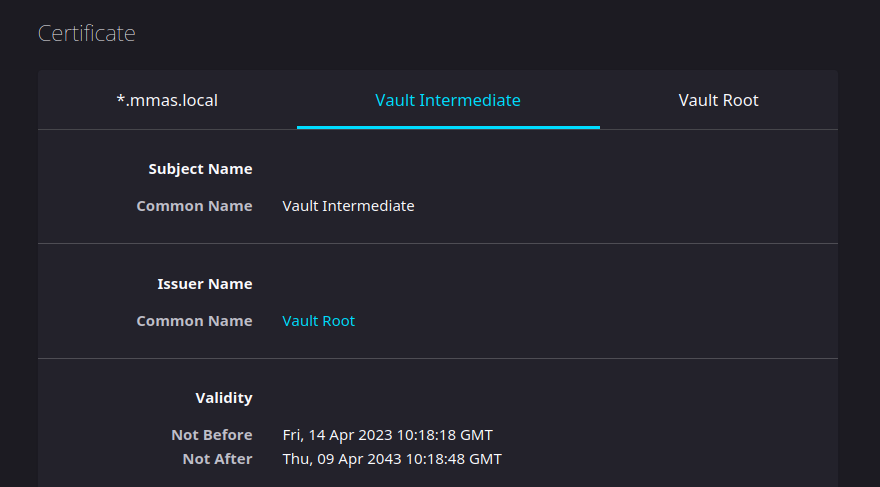
crl_distribution_points: [ "{{ lookup('env', 'VAULT_ADDR') }}/v1/pki/crl" ]Generate intermediate CA
In a similar way, mount another PKI secrets engine at
/pki_int, set the default and maximum lease TTL to a
shorter period (5 years), and gnereate the Intermediate CA “Vault
Intermediate”
- name: enable pki engine at pki_int and config to issue certs with 5y ttl
  mmas.hashi_vault.vault_secrets_engine:
    backend_type: pki
    mount_point: pki_int
    config:
      default_lease_ttl: 43800h
      max_lease_ttl: 43800h

- name: generate and sign intermediate certificate
  mmas.hashi_vault.vault_pki_intermediate:
    mount_point: pki_int
    common_name: Vault Intermediate
    format: pem_bundle
The module mmas.hashi_vault.vault_pki_intermediate
generates an intermediate certificated with the specified common name if
not existing, signs it with the root CA, and imports the
certificate.
Issue certificate
We’ll need PKI roles to issue certificates. Create a role from the
PKi at /pki_int for our domain homelab.local,
allowing subdomains, valid for a year:
- name: create pk_int role
  mmas.hashi_vault.vault_pki_role:
    mount_point: pki_int
    name: homelab.local
    allowed_domains: [ homelab.local ]
    allow_subdomains: yes
    max_ttl: 8760h
Again, mmas.hashi_vault.vault_pki_role module won’t
create a new role if a role with the given name already exists.
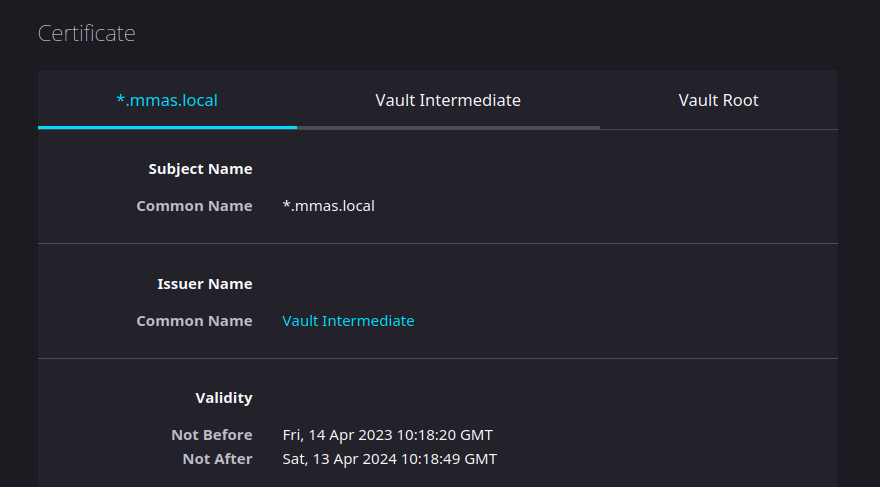
Issue a certficate for our domain homelab.local:
- mmas.hashi_vault.vault_pki_certificate:
    mount_point: pki_int
    role_name: homelab.local
    common_name: "*.homelab.local"
    ttl: 8760h
  register: output
In this case, mmas.hashi_vault.vault_pki_certificate
won’t issue a new certificate if a non-revoked one with that common name
already exists, however, we can generate a new one with
state: created (and get the certificate and private key) or
revoke all the certificates for that common name with
state: revoked. If we don’t save the private key once the
certificate is issued, we can issue a new one and save the new private
key.
Using the certificates
We registered a variable from the last task output, so we can use that to get the private key:
- name: save private key to /tmp/
  copy:
    dest: /tmp/homelab.local.pem
    content: "{{ output.certificate.private_key }}"
And to get the fullchain certificate:
- name: save certificate to /tmp/
  copy:
    dest: /tmp/homelab.local.crt
    content: "{{ output.certificate.certificate }}\n{{ output.certificate.ca_chain|join('\n') }}"
We can use those in NGINX (ssl_certificate_key and
ssl_certificate) or Apache
(SSLCertificateKeyFile and
SSLCertificateFile).
The browsers won’t accept self-signed certificates, so we need to
import our root CA or CA chain. We can use the CA chain from
output.certificate.ca_chain or the root CA from
output.certificate.ca_chain[1].
We can also get the root, intermediate and server certificates using the following lookup:
"{{ lookup('mmas.hashi_vault.vault_pki_root', 'Vault Root').certificate }}"
"{{ lookup('mmas.hashi_vault.vault_pki_intermediate', 'Vault Intermediate').certificate }}"
"{{ lookup('mmas.hashi_vault.vault_pki_certificate', '*.homelab.local').certificate }}"
To install the root/chain certificate in Firefox, Settings > Preferences > Privacy and Security > Certificates > View Certificates > Authorities > Import, and tick Identify Websites.